2 Amazing Red Nail Art Tutorials With Detailed Steps
Today, i am going to show you two different red nail arts.The first one is a floral red nail art and the other one is a very simple but classy red nail art.
Red Nail Art Tutorials
A. Red floral nail art:
You can wear this nail art for traditional occasions and also for wedding parties. This can go very well with heavy red and white suits or net saris. This just requires a free moving hand where in you can draw some designs and ofcourse some time INVESTMENTThings Required:
- Base coat (optional)
- A skin colored nail polish
- Red nail polish
- Acrylic paints in pink and white
- A nail art brush
- Transparent nail polish
Step 1:
Use base coat because it will protect your nails from the harmful effects of acrylic paint. If your nails are prone to chipping or breaking, then the base coat will provide more protection. Once it is dried, use two layers of a skin colored nail polish. Let it dry completely.Step 2:
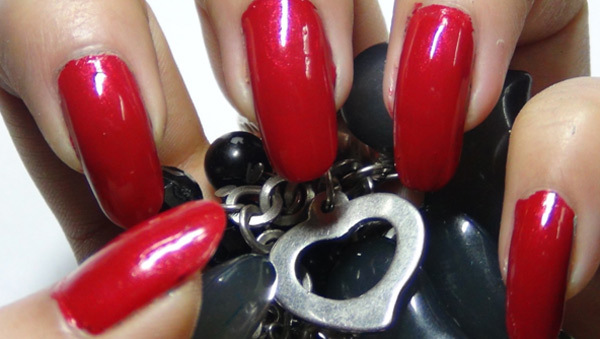
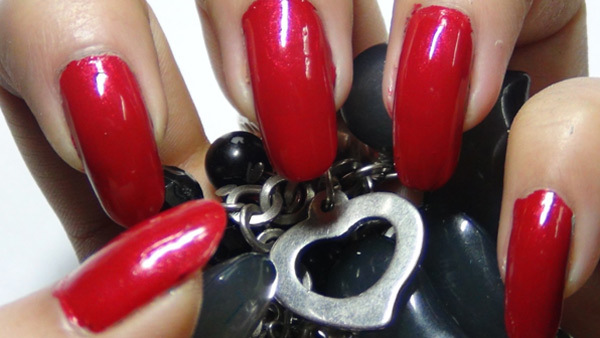
Once the base coat is completely dried, now apply 2 coats of red nail polish. Let it dry completely.Step 3:
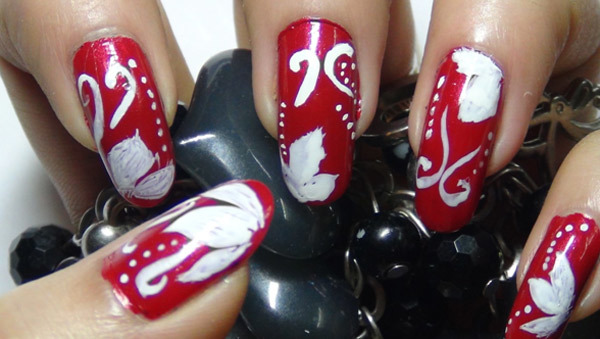
Now use your nail art brush and white acrylic color. Use this color to make uneven petals at different corners of the nails. There is no need to draw up a full flower design. Refer to the picture above.
Step 4:
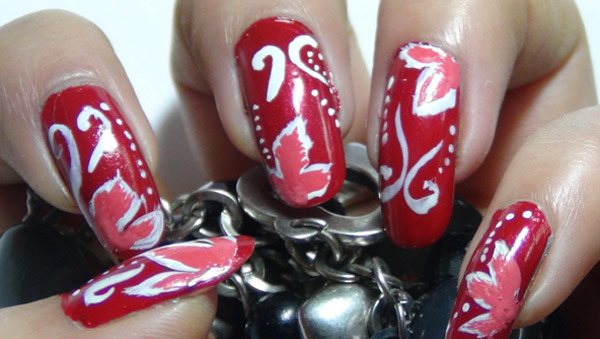
Make some more curved patterns like those of fern leaves and some dots with the pointed end of a toothpick. You do not need to follow any particular pattern or rule for this. You should draw the patterns in such a way that they fill the empty spaces on your nails but do not look too clumsy.
Step 5:
Next use the pink acrylic color to fill up the inner sides of the petals and the centers of the flowers.Step 6:
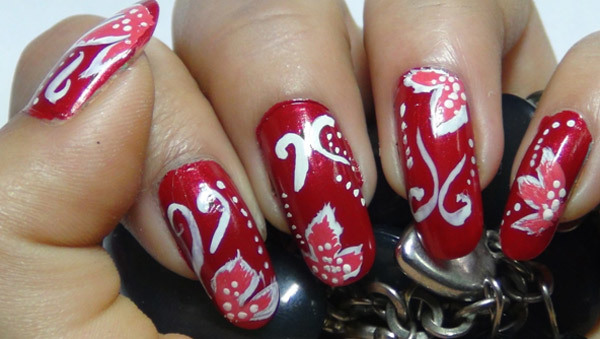
Finally take the toothpick and white acrylic paint. Make some white dots with the pointed end of the toothpick at the center of the flowers. Your nail art is complete. Let this dry very well and only then apply one or two layers of a good quality top coat.Hope you liked this beautiful floral red nail art tutorial.
B. Easy classy red and black nail art:
This is a very easy to do and less time-consuming nail art design that you can sport with trendy party outfits like short dresses or other club wear.Things Required:
- Base coat (optional)
- A skin colored polish
- A red nail polish
- A black nail polish or black acrylic paint
- A thin nail art brush
- A transparent top coat
Step 1:
Apply one perfect layer of skin colored polish. Once it is dried, apply 2 coats of red nail polish. Let it dry completely.
Step 2:
Now take a bit of black nail polish in a palette. Use your nail art brush to draw up a triangular design coming from the roots of the nails and ending in pointed heads towards the nail tips. If you find it difficult to draw the design with black polish, then you can use black acrylic paint for this. Chances of correcting any imperfection are easy when you are using acrylic paint. Your design is complete. Let this dry completely and apply 2 layers of top coat.Hope you enjoyed these two tutorials! So, which one of these red nail arts you would love to wear for the coming occasion or party? Do leave us a comment below. Here is an android app for more nail art pictures to inspire you. You would definitely feel like trying them.



No comments:
Post a Comment