Amazing Ombre Nail Art Tutorial With Detailed Steps & Pictures
Today I will show you two easy to do and very classy looking Ombre nail art designs. The technique is similar to sponging and even beginners can do this.
A. Black and Golden Ombre Nails:
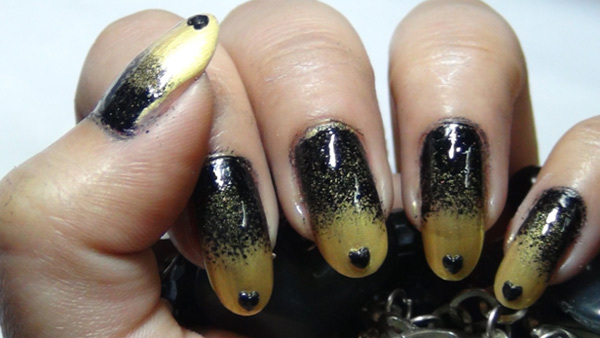
This is a very beautiful ombre nail design, which you can wear for your parties. You can team this nail art with golden or black coloured dresses. It is easy to do and looks very classy.Things Required:
- Base coat (optional)
- White nail polish
- Light blue nail polish
- Transparent polish
- Sponge
- Tweezers
- Black rhinestone hearts
Step 1:
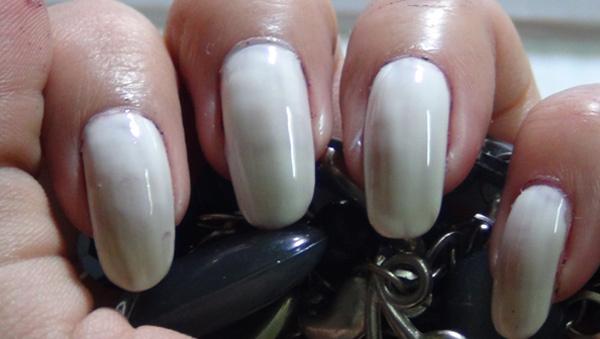
In this nail art we are not using any acrylic paint. Hence, the use of base coat is optional. However, it is always recommended to use a base coat before application of any nail polish because it helps to strengthen your nails, making it resistant to breakage or chipping. After your base coat dries up, use white polish on the whole nail. This will make the base more opaque.
Step 2:
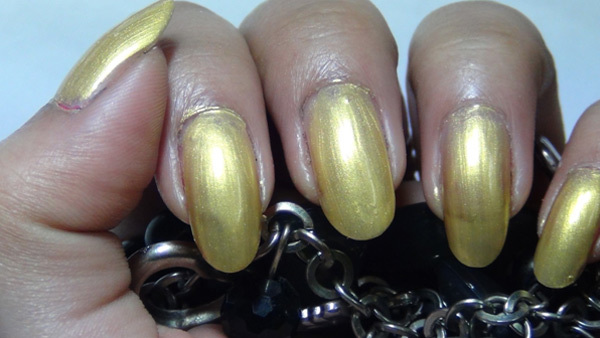
Now use at least 2 nice layers of a golden nail polish on the nails. Let it dry completely.
Step 3:
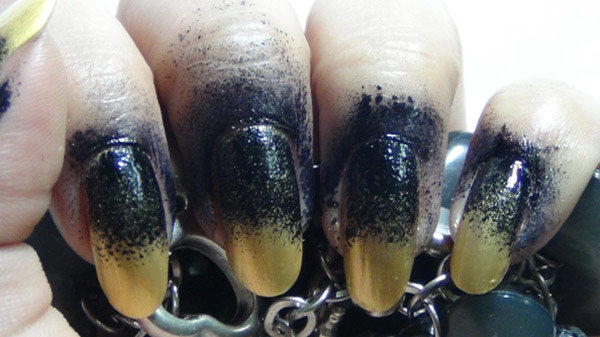
Take a piece of sponge and black nail polish on a palette. Use the sponge to dab the black nail polish half way across the nails starting from the roots of the nails. Make sure that you dab more polish towards the roots and lessen the dabbing pressure as you reach the middle of the nails. It should look something like below. You can use cello tapes to tape the sides of the nails so that there is less mess to clean up. However I prefer cleaning up with a cotton bud rather than using cello tapes.
Step 4:
Now take a cotton bud or wrap a piece of cotton around a toothpick and dip it into nail polish remover or acetone. Clean up the sides properly.
Step 5:
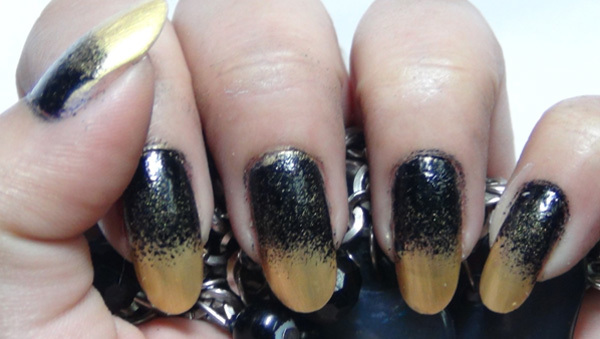
Give a standing time of 5 minutes for the nail polish to dry. If the nail polish does not dry properly, the Ombre effect may bleed when transparent polish is used. After it has dried, use transparent polish. Immediately after application of transparent polish, take your tweezers and place one black rhinestone heart at the centre of the nail tips. It should look something like below when complete. Simply stunning!
B. Metallic Ombre Nails:
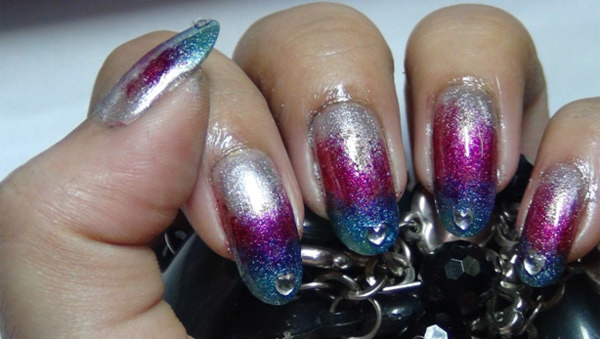
This is another beautiful metallic tri-coloured Ombre nail art design that I came up with. You can try this with any party outfit in silver or blue or magenta. You can use other colours too keeping the base in silver to match your clothes.Things Required:
- Base coat (optional)
- White nail polish
- Metallic silver, blue and magenta nail polish
- Sponge
- Tweezers
- Transparent polish
- Rhinestone hearts
Step 1:
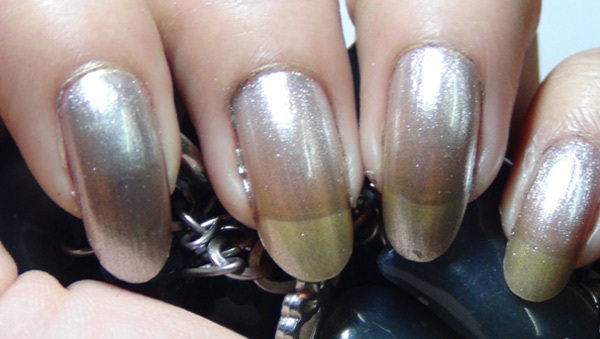
For this design, once again we will start with a base coat to protect the nails from chipping. After it is dried, we will apply white nail polish. When the white nail polish has dried, we will use 2 coats of a nice silver nail polish. Now, don’t let me confuse you! Take a look at the picture below and you are good to go.
Step 2:
When the silver polish has dried, we will take the sponge and metallic blue nail polish in a palette. We will dab on the metallic blue polish using the sponge towards the tips. For this nail design the longer nails you have, the better it will be. Once you are done, it should look something like the picture below.
Step 3:
Now give it a standing time of 1 minute or so. Take metallic magenta nail polish on a palette. Take a new bit of sponge and dab the same till half way across the nails. Let it dry completely. Once done, it should look like the picture below.
Step 4:
Now clean off the mess around the nails using a cotton bud dipped in remover. When this is done, apply a transparent polish. Immediately take your tweezers and place a rhinestone heart at the centre position of the tips. Let it dry properly. Your silver Ombre design is all ready to flaunt!


No comments:
Post a Comment